Top Water System Considerations When Renovating Your Home

For anyone considering a remodel, here's how to make sure your whole home system is installed properly.

By: Alyssa Scavetta

It’s official: the papers are signed and the keys are in hand. You’re now the new owner of a charming fixer-upper to call your very own! While the search may be over, the work itself has only just begun, because in buying an older home, we’re often also buying ourselves a ticket to renovations. And when it comes to renovations, the most commonly complicated piece that connects every room to each other is your plumbing setup. In this article, we consider renovations from all angles, from your kitchen to your bathroom and beyond.


Step 1: Take stock of your new situation

There are a few hard truths that every homeowner should be aware of, particularly when it comes to their plumbing.

The first and most obvious truth: Lead is a dangerous and toxic contaminant found most often in drinking water in houses with older plumbing.

Lead poisoning can lead to learning difficulty, irritability, weight loss, hearing loss, fatigue, and seizures.

It’s also important to note that lead is bio-accumulative, which means it collects in the body over time. The United States Environmental Protection Agency (EPA) reports that 10 to 20 percent of lead exposure comes from contaminated water. This number jumps to between 40 and 60 percent for babies who drink formula that contains contaminated water.

Second, if a house was built before 1986, there is a good chance it has lead plumbing. This is no small thing – United States census data from 2000 shows approximately 83 percent of homes were built before 1989.

And finally, even if the house was built after 1986, its plumbing may still contain lead. Between 1986 and 2014, “lead-free” plumbing was defined as plumbing that contained less than 8 percent lead. This is still an incredibly large and unsafe percentage. For reference, after 2014, lead-free plumbing was redefined as plumbing that contained 0.25 percent lead.


Step 2: Strategize and conquer

While it’s likely that an older home has a larger-than-appropriate percentage of lead in the plumbing, that’s not always the case.

For anyone considering buying an old home, currently living in an older house, or considering a remodel, don’t panic just yet. It’s worth looking into what pipes the house is equipped with. A previous homeowner may have replaced the piping at some point. There’s also a chance that the house doesn’t have lead pipes at all and instead has pipes made of copper, PVC, or galvanized steel.

To find out what type of plumbing a home has, identify the service line. Oftentimes, this is located in the basement or towards the front of the house. After locating the service line, use a screwdriver to scratch the pipe lightly. If the color underneath the paint is brownish, the pipes are likely copper. A soft and shiny metal under the paint points to lead pipes and if magnets stick to the pipe, it’s galvanized steel.

Alternatively, if the toilet in your fixer-upper doesn’t work, it obviously has to go, but if funds are a consideration, there are many ways to save without actually cutting corners. For example, when considering a bathroom reno, here’s a sample list of what’s typically up for change:

  • Bathtub/Shower/or a combination
  • Plumbing & Electrical
  • Toilet
  • Tile (depending on bathroom size)
  • Lighting
  • Furniture
  • Bathroom Remodel Lighting

The number of decisions may sound intimidating, but the answers to all of these questions will determine your plan of action and your budget. Once you have an idea of what you’re able to do, The Spruce recommends not only setting your budget but adding an additional 10 percent, because unexpected expenses will inevitably arise. This helps account for hidden costs (delivery, labor, materials, etc.) as well.

During the strategizing process, it's important to minimize waste and do a sustainable renovation. For tips on how to reduce waste, recycle, upcycle, and use eco-friendly materials, reference this handy article by Porch.


Step 3: It's all in the design

Sketching out your kitchen remodel goes without saying that your answers to the above questions will also decide the amount of design work you’ll need to do. If you’re hoping to knock out some walls and move plumbing around, best to hire a professional for some sketches.

If you opt not to get a design professional (which are very worth the money), it helps to sketch out the size of your bathroom/kitchen/space on graph paper to track how much space each item will take up. If your space is really small, it might even convince you to ditch the tub and stick with a stand-alone shower. But either way, you’ll get an important bird’s eye view so you’ll know if your new sink and toilet will fit before you spend a dime on installations.

Once you’ve decided what to replace, keep in mind many kitchen materials can take several weeks’ lead time, so order them far enough in advance to arrive when the demo is complete. Pro tip: if you live in a multi-unit building versus a stand-alone house, get the dimensions of your building’s freight elevator and/or main elevator and order materials that can actually fit inside.


Step 4: Drumming up a new room

At the end of the day, we highly recommend getting a professional to handle redoing the plumbing and electrical, no matter which room it’s getting an upgrade in. The biggest reason for this is that a lot of appliances and systems have built-in warranties that require that you get a professional to handle the situation on your behalf. So if you want to not accidentally void your warranty, this piece is a big deal.

Also, it’s best not to assume that everything can be a DIY job. Fewer disasters — particularly as it pertains to such technical and potentially painful tasks like plumbing and electrical — will also ultimately save you money down the road. Obviously, demolition of the existing kitchen comes first, and you’ll have to do at least some degree of this, even if all you’re doing is taking out a fake red brick linoleum floor and replacing some questionable bicentennial wallpaper from the 1970s.

Step 5: Installation system

Now that your space is stripped, you may feel anxious to install that unbelievable espresso machine, but hold those horses! Not quite yet. Now it might seem obvious, but let’s say it anyway: start with the bottom layers. The bones: drywall, flooring (if you’re choosing to change it) go in first. If you’d rather save yourself the contractor costs, both can be done DIY without headache, and in a way that can save a significant amount in the long run.

Next you’d think would come cabinets, but here’s another trick: paint the walls before installing the cabinets. For one, it’ll be easier to access the walls without having to tape all around your new millwork, but painting first will also spare your beautiful new cabinets from getting paint on them. Once you do start installing new cabinets, it’s worth having the contractor do it or at least roping in a friend or two to help, as it’s a multi-person job. If you want to save cash, consider keeping the cabinetry you have and updating them with a new paint color and — what will make a big difference — new hardware.

Certainly, not every item needs to be purchased new, either. Perhaps that ugly vanity can be upgraded with a new paint job and new hardware or replaced with an antique cabinet. Try buying a vintage or antique mirror for the vanity. Estate sales are full of them, and they look so much more interesting than the standard “builder grade” medicine cabinet mirrors — if it has a frame, even better!

Of course, regardless of what your cabinetry looks like on the outside, the inside should provide maximum storage that’s easily accessible. Installing pull-out shelves or double sliding shelves in those tough to reach corner cabinets so you’re getting maximum bang for minimal hassle.

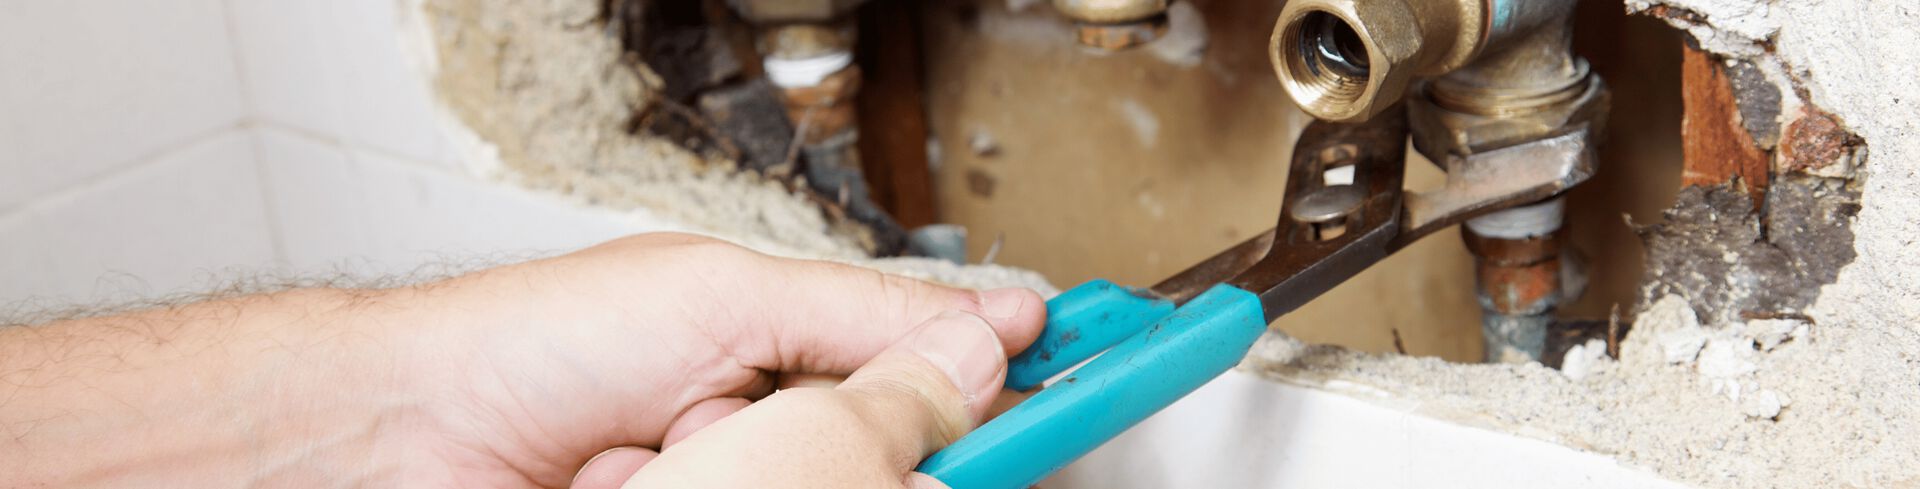
Step 6: Healthy water in every room

One thing many new homeowners don’t spend much time considering in a remodel is the quality of their water. The best time to consider this is after the cabinets and appliances are installed.

If there’s chlorine in your water (and that’s highly likely as municipal treatment systems add it to water to disinfect it), it can turn to chloroform in steam. If there are lead pipes in your house that you can’t replace, that’s reason enough to consider a system that removes lead and other potentially harmful contaminants. Filtration is an upgrade that you can’t see, but it can make a difference in your entire home from the brightness of your laundry to the taste of your food — not to mention saving you and your family from drinking and bathing in harmful water contaminants. Aquasana offers both countertop and under sink water filtering, as well as a shower filter that’ll remove 97 percent of the chlorine from your water, and whole home systems cover your entire house from the outset, so you don’t even have to think twice as you turn on the faucet.